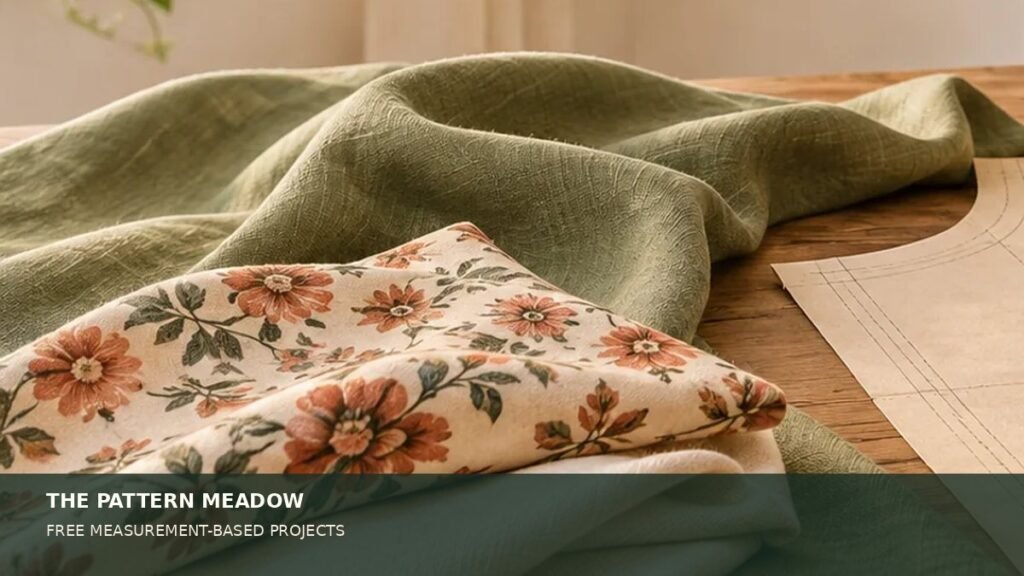
A reusable fabric gift bag can replace wrapping paper for small presents. The bag is easy to customize: use festive prints, linen remnants or plain cotton decorated with a simple label. This version has two drawstrings so the opening gathers neatly from both sides, and the entire project can be made from measurements.
Cutting list for a medium gift bag
- Two stable woven cotton rectangles, each 28 cm wide × 35 cm tall.
- Two drawstrings or soft cords, each approximately 70 cm long.
- Matching thread, safety pin or bodkin, pins or clips, iron and sewing machine.
Use a 1 cm seam allowance unless instructed otherwise. The finished bag is approximately 26 cm wide and 30 cm tall, depending on how accurately you press and sew. Keep cords out of reach of young children; drawstring bags are not suitable as toys or sleep accessories.
Create the top casings first
- On the top short edge of each rectangle, press 1 cm to the wrong side. Press another 2.5 cm to the wrong side. Stitch near the lower folded edge, creating a channel for the drawstring.
- Check that the channel is smooth and open from end to end. Use a safety pin on a scrap cord to make sure it passes through before assembling the bag.
- With right sides together, align the two rectangles. Pin the side seams and bottom. Sew from just below the lower edge of the casing down one side, across the bottom and up the other side. Stop below the casing so the drawstring channels remain open at both sides.
- Finish the raw side and bottom edges with zigzag stitches or another suitable seam finish. Press the seams; avoid accidentally stitching the casing entrances closed.
Thread the drawstrings
- Using a safety pin, thread the first cord through the front casing from left to right, then through the back casing from right to left. Both cord ends should emerge on the left side; knot them together.
- Thread the second cord in the opposite direction. Its two ends should emerge on the right; knot them together.
- Pull both knotted ends to close the bag. If the closure catches, the casing may be too narrow for your cord or the side seam may be blocking the entrance.
Adjustments for different gifts
For a taller gift, increase the rectangle height but keep the casing calculation the same. For a wider item, increase the width of both panels and use longer cords. Put the object inside before cutting a second version: bulky items may need more width and height than expected.
Press the finished bag and check the bottom seam for loose stitches. For another measurement-based project, see our simple tote bag, or use the pattern finder to explore more substantial projects.
Ready for another project?
Explore our project finder to match sewing ideas with your experience.
Browse project guides