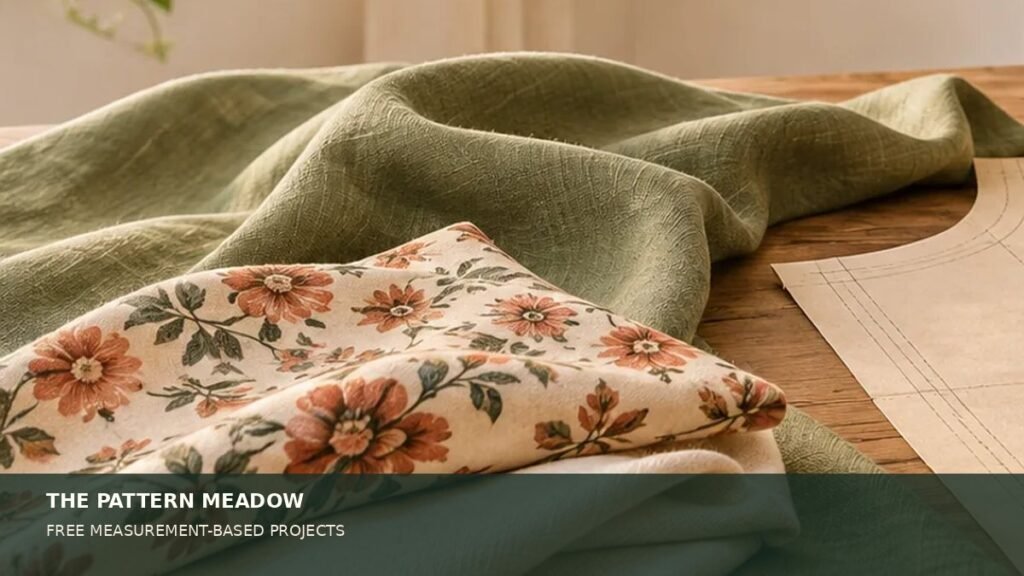
An envelope pillow cover uses two overlapping panels on the back instead of a zipper. It is a forgiving way to practice straight seams and hems while making something useful for the home. Choose a stable woven fabric that you can press; slippery velvet and heavily textured upholstery fabric are better saved for later.
Measure your cushion insert first
This example is for a 40 × 40 cm (approximately 16-inch) square insert. Measure the actual insert and check whether you want a snug or relaxed cover. The example uses a 1 cm seam allowance throughout; the dimensions will not work the same if you change that allowance.
Cutting plan for one 40 cm cushion
- Front panel: 42 × 42 cm.
- Back panel A: 42 × 29 cm.
- Back panel B: 42 × 29 cm.
The 42 cm panel width includes a 1 cm seam at each side. Each back panel gets a double-turned hem using 1 cm plus 2 cm along one 42 cm edge. After the hems and outer seams, the two panels should overlap generously in the middle.
Make the opening neatly
- Identify one 42 cm edge of each back panel as the envelope opening. On that edge, turn 1 cm to the wrong side and press; turn another 2 cm and press again.
- Stitch close to the inner fold on each panel. These are the edges that will be visible when the cushion is removed, so press before sewing rather than forcing the fabric with your fingers.
- Lay the front piece right side up on your table. Lay one back panel right side down over it, with its raw outer edge aligned with the top of the front. Lay the other back panel right side down, aligned with the opposite edge. The hemmed edges should overlap across the center.
- Pin the outside perimeter, checking that all four corners of the front panel are covered by the back panels. If a panel has moved during pinning, correct it now.
Sew and turn
- Sew around all four outside edges with a 1 cm seam allowance. Backstitch where the overlapping back panels cross the seam; those areas receive extra stress when the cover is opened.
- Trim bulky corners without cutting the stitches. Finish the raw seam allowances if the fabric frays easily.
- Turn the cover right side out through the envelope opening. Gently shape the corners with a blunt point—not sharp scissors—then press the perimeter.
- Insert the cushion, working each corner into place. If the cover feels overly tight or loose, check your original insert measurements before changing the next cutting plan.
Common problems
The insert shows through the back: The overlap is too small or the back panels were placed incorrectly. Increase the back panel length for a future cover. Corners look rounded: Carefully trim excess allowance and push out the seam using a blunt tool. Fabric twists: Make sure both panels were cut on grain.
This is a complete measurement-based home project. For garment projects that require fitted pattern pieces, browse our pattern selection guides or read how fabric choice affects sewing difficulty.
Ready for another project?
Explore our project finder to match sewing ideas with your experience.
Browse project guides